How to Find Image Source: 7 Reliable Checks
A practical workflow for tracing where an image first appeared, who published it, and whether a search result is the original or only another copy.

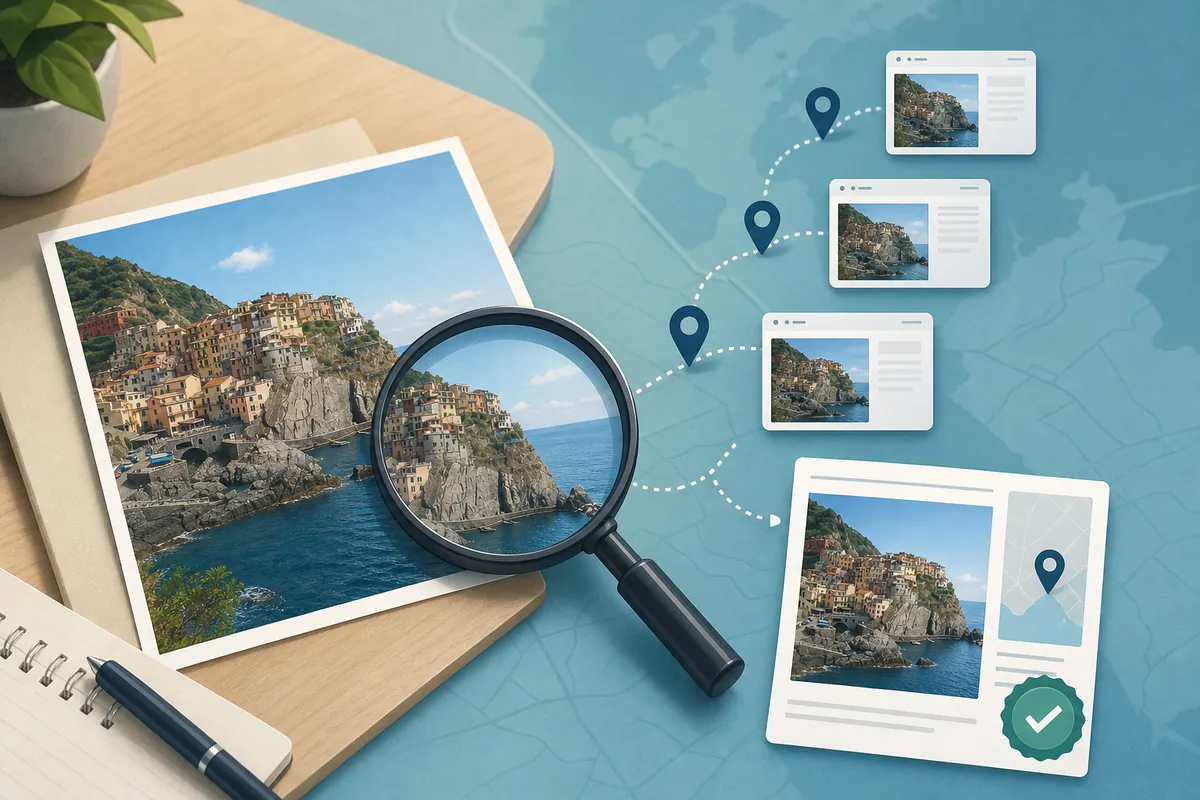
Table of Contents
If you need to know how to find image source, start by defining what “source” means. You may be looking for the earliest page that published the image, the photographer or artist, a higher-resolution original, the news event shown, or the website from which a downloaded file came. Reverse image search is the main tool, but it rarely proves authorship by itself. A reliable answer comes from combining visual matches with dates, captions, credits, file clues, and publisher context.
Image Source Is Not the Same as Photo Location
An image source tells you where a file was published or who created it. A photo location tells you where the scene was captured. The two can overlap, but they answer different questions. A travel blog may publish a photograph taken in Kyoto; the blog is the source page, while Kyoto is the photographed location.
Use this guide when your question is “Where did this image come from?”, “Where was this image published?”, or “Who made this picture?” If you instead need the physical place shown in the scene, use the photo location finder. If you own the original file, the photo metadata guide can reveal dates, camera details, and sometimes GPS data, but downloaded web images often have stripped metadata.
Choose the right investigation
Source tracing follows publication history; geolocation follows visual and geographic evidence.
7 Reliable Checks to Find the Original Image Source
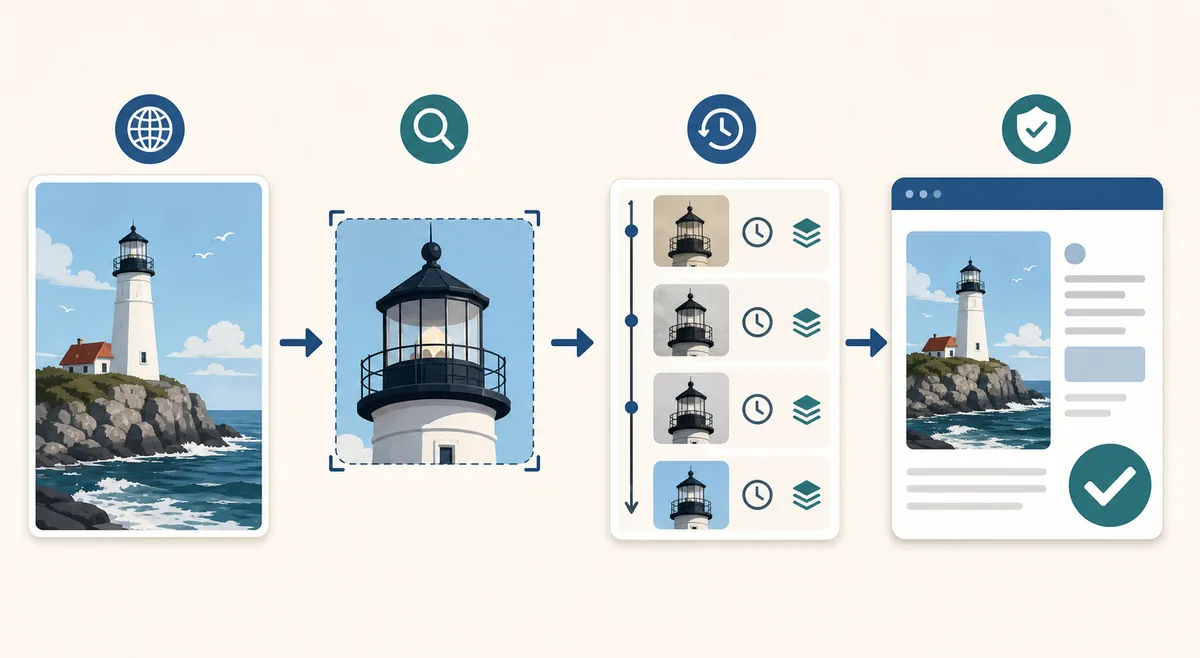
Do the checks in order. Each step either finds a stronger lead or gives you a better search input for the next step. Keep a small list of candidate URLs and their publication dates so you do not confuse a popular repost with the original.
A result that appears first is not necessarily the source. Search engines rank relevance, authority, freshness, and visual similarity; they do not always sort copies by creation date.
- Save the highest-resolution copy available. Avoid screenshots when the downloadable image file is accessible, because screenshots remove filenames, metadata, transparency, and original dimensions.
- Run the full image through at least two reverse-image services, such as Google Lens and TinEye. Different indexes find different websites and crops.
- Crop a distinctive detail and search again. Faces, logos, signs, artwork corners, unusual buildings, product labels, or a unique background object often produce cleaner matches than the whole composition.
- Search visible words as text. Put an unusual caption, sign, watermark, username, product code, or quoted phrase in quotation marks and combine it with a subject or date.
- Compare publication dates and page history. Look for an article date, update date, archived version, upload timestamp, copyright notice, and whether the page existed before later reposts.
- Inspect credits and context. A credible original page often names a photographer, agency, artist, museum, company, researcher, or social account and explains why the image exists.
- Confirm through an independent trail. Check the credited creator's portfolio, official account, press release, archive, or another contemporary page that links back to the same origin.
How to Judge Whether a Result Is the Real Source
Treat every match as evidence with a strength level. A large news site may rank above a smaller original creator. A Pinterest pin may be older than one repost but still point to a deleted blog. A stock-photo page may license an image without being the photographer's first publication.
The strongest conclusion is supported by several clues: an early date, original dimensions or an uncropped version, a clear creator credit, surrounding context that explains the image, and an independent account or archive confirming the same attribution. If only one weak clue is available, label the result as a likely source rather than the original source.
| Evidence | Strong signal | Warning sign |
|---|---|---|
| Publication date | Clearly dated page or archived copy predates other matches | Date is missing, automatically updated, or later than many copies |
| Image quality | Largest or uncropped version with consistent file details | Small compressed copy, screenshot, border, or added caption |
| Attribution | Named creator, agency, institution, or official account | No credit, vague “via internet,” or copied watermark |
| Page context | Explains the event, project, shoot, artwork, or release | Image appears in an unrelated gallery or aggregation page |
| Independent confirmation | Creator portfolio, archive, or contemporary report agrees | All results repeat the same unsupported claim |
Evidence rule
The earliest indexed page is useful, but date + creator credit + original context is much stronger than date alone.
How to Trace Screenshots, Cropped Images, Memes, and Reposts
Screenshots often include interface elements, subtitles, comments, or black borders that weaken visual matching. Crop away the interface first, then search both the clean content area and any visible username or caption separately. For a video frame, search several frames because one may contain a landmark, title card, logo, or subject that appears on an indexed page.
Memes need two investigations: the base image and the added text. Search a text-free crop to locate the underlying photograph, then search the exact meme wording to find an early version of the edited joke. For artwork, look for signatures, recurring motifs, portfolio sites, art platforms, exhibition pages, and higher-resolution versions. Do not assume the account that posted the most popular copy is the artist.
Social platforms can hide or change dates, and reuploads may remove attribution. Check whether a post links to an external article, whether the account routinely publishes original work, and whether older posts or profile links identify a creator. Community comments can provide leads, but they should be verified before attribution.
What to Do When Reverse Image Search Finds No Source
No result does not mean the image is original or safe to reuse. It may be new, private, poorly indexed, heavily edited, mirrored, generated, or stored behind a login. Try a less compressed copy, rotate it back to the likely orientation, remove borders, search multiple crops, and search visible text or filenames. Repeat the search later if the image relates to a developing event.
If you need the source for publication, licensing, research, or fact-checking, document the searches you performed and avoid a confident attribution you cannot support. Use wording such as “source not verified” or “earliest match found” instead of “original.” If reuse rights matter, contact the apparent creator or publisher and request permission; visual similarity does not establish a license.
Finally, keep source and location work separate. A reverse search may reveal the publisher but not the place shown. An AI geolocation result may suggest a city but not identify the photographer. Combining the two workflows is valuable, but each conclusion needs its own evidence.
When evidence stops
Report the strongest verified fact and the remaining uncertainty. Do not turn a plausible match into a proven origin.
Need the Place Shown, Not the Publisher?
If your real question is where the scene was photographed, use the location workflow. If you have the original file, inspect metadata before relying on visual guesses.
Frequently Asked Questions
References and verification tools
Last updated: July 30, 2026