Reverse Image Search for Location: How to Find Where a Photo Was Taken
Use visual matches as location clues, then separate the image source from the physical place and verify the result on a map.

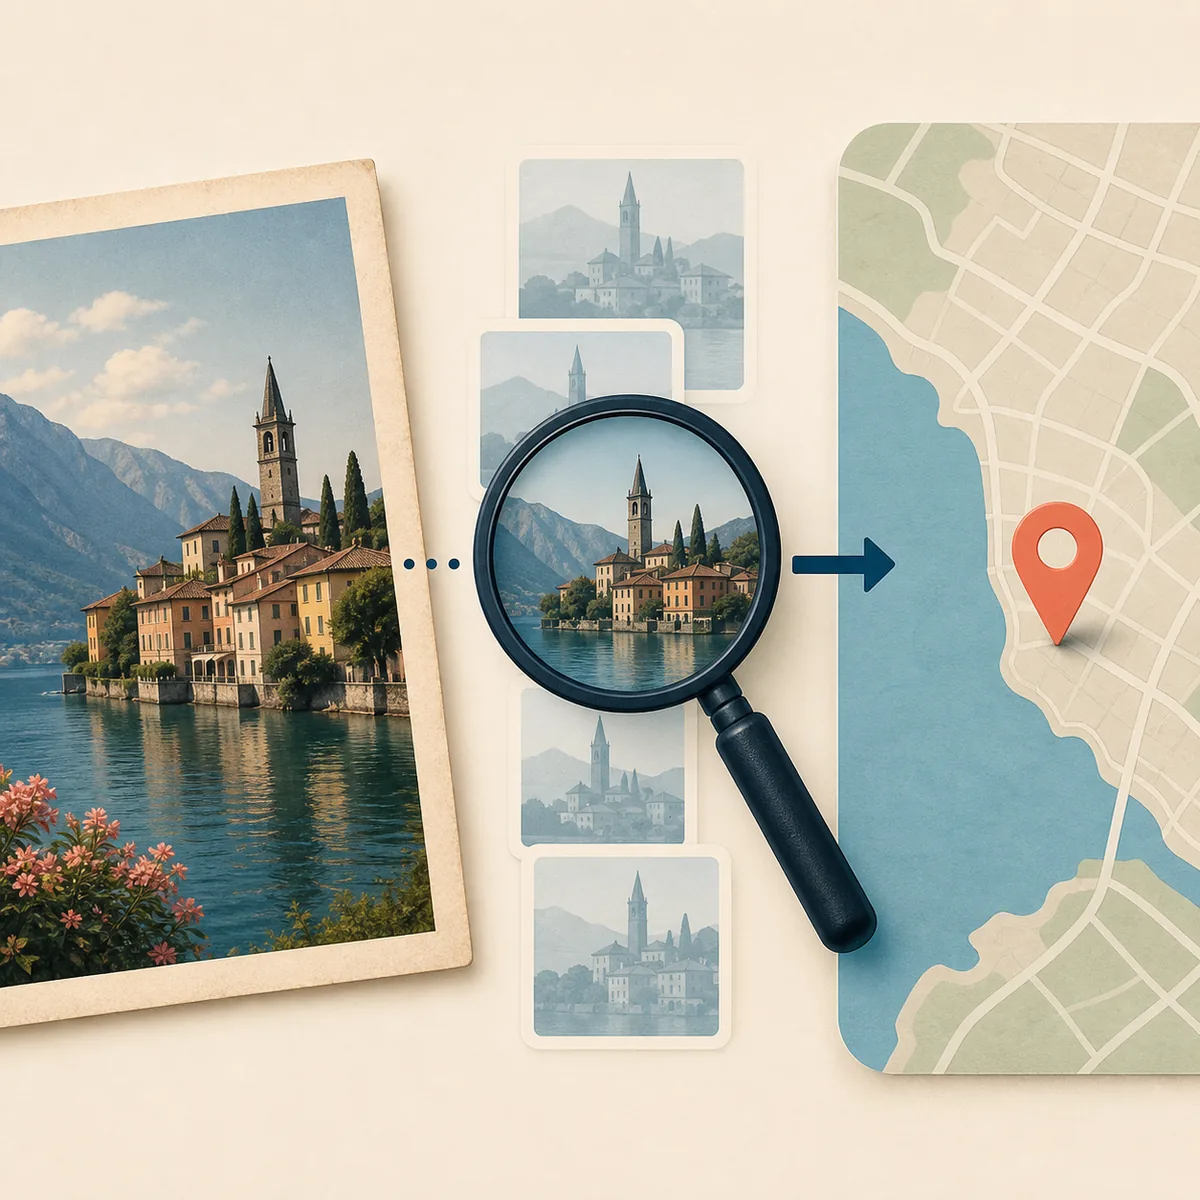
Table of Contents
If you are searching for a reverse image search location method, start with a realistic goal. Reverse image search is strongest when the same photo, a crop of it, or a visually distinctive detail has already been indexed online. It may reveal a travel page, a social post, a news article, or a landmark reference that names the place. It is much weaker when the image is new, private, heavily edited, or a generic street scene. This guide shows how to turn a match into a location lead without confusing the image's online source with the place shown in it.
Quick Answer: Can Reverse Image Search Find a Location?
Yes, sometimes. A reverse image search can find pages that reuse the same image or similar visual details. If one of those pages names a landmark, street, venue, trail, or city, the result can become a useful location clue. The search itself usually does not prove exact coordinates, the camera position, or that the earliest result is the original publication.
Use reverse image search when you suspect the picture was copied from a travel article, social post, video frame, news report, or public landmark page. If you own the original camera file, check the Photo GPS Location Checker first. If you want a broader visual guess for an image with no useful match, try Where Was This Photo Taken? and then verify the clues in a map.
Keep two questions separate: Where was this image published? and Where is the scene shown? The first is source research. The second is physical geolocation. They can support each other, but they require different evidence. Our image source guide focuses on publication history, while this page focuses on using a source match to investigate a place.
Short verdict
A reverse image search can supply a strong lead, not an automatic exact location. Treat the result as credible only after the visible scene and map evidence agree.
How to Use Reverse Image Search for Location Clues
Run more than one search instead of trusting the first thumbnail. Google Lens can surface visually similar pages and context, while other reverse image indexes may find older copies or different crops. You can start with the official Google Lens image-search instructions, then repeat the process with another index when the results are thin.
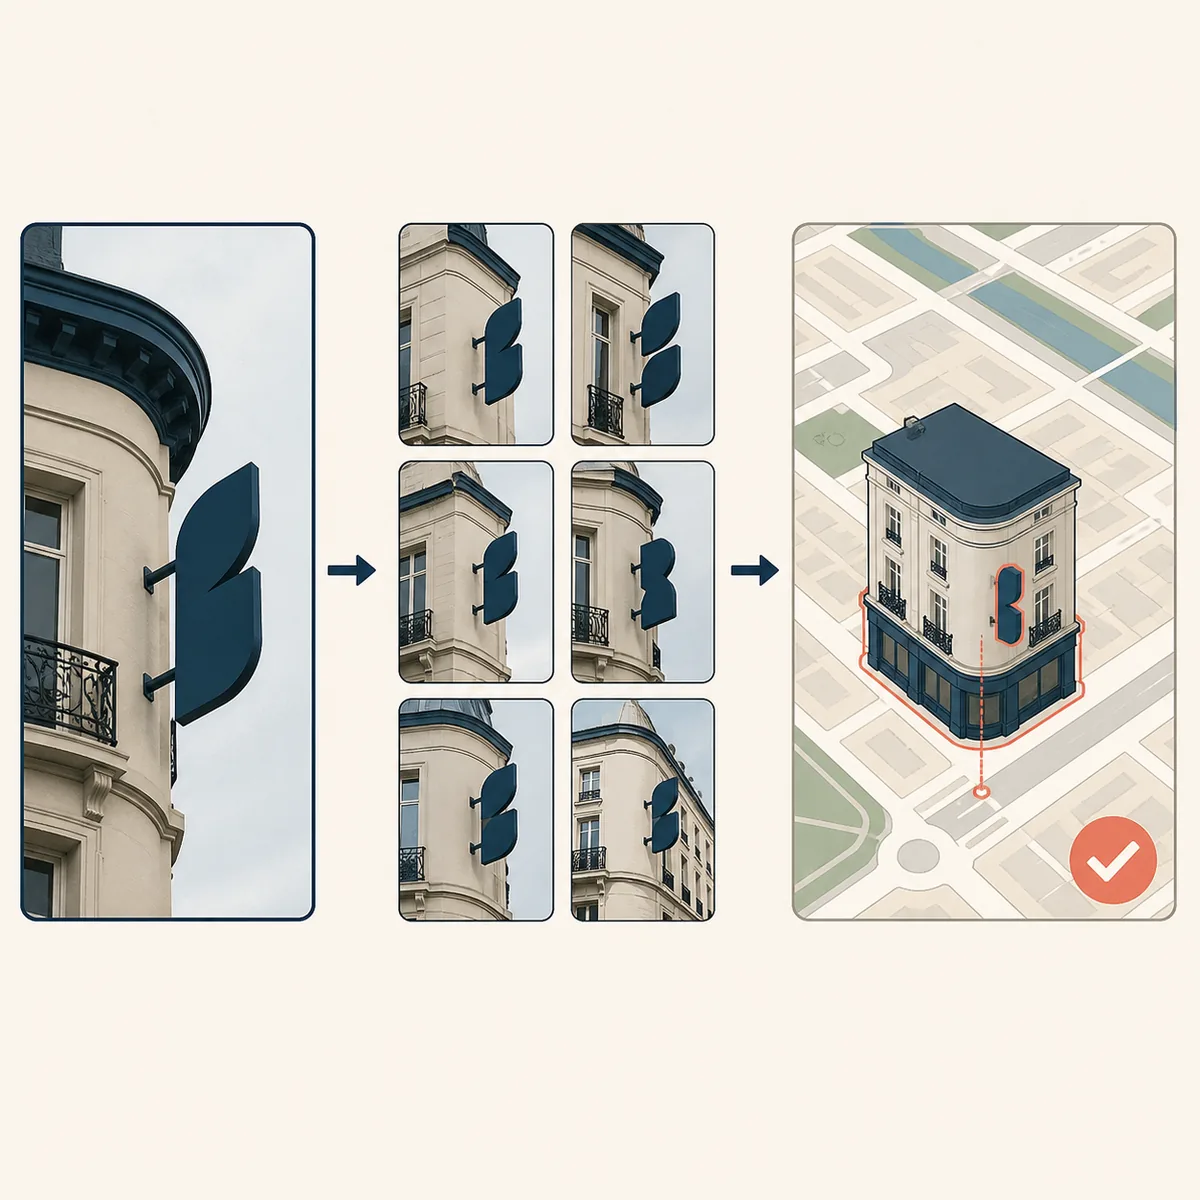
The order matters. Search the full image first so you do not remove useful context. Then create targeted crops of signs, storefronts, statues, unusual rooflines, road markings, mountain profiles, or other fixed features. Search those crops separately and compare whether several results point to the same place rather than merely sharing a color palette or travel-photo style.
- Preserve the highest-resolution copy you have. Save the filename, visible caption, watermark, and any page where you found it before editing the image.
- Run a full-image search. Record the exact page titles, dates, captions, place names, and repeated claims instead of copying only the first result.
- Crop one distinctive clue at a time. Try a sign, logo, building corner, statue, bridge, skyline, or landscape outline; avoid making ten random crops with no hypothesis.
- Search the text separately when the image contains a readable business name, street sign, language, username, or event title. Text can locate a scene even when visual similarity cannot.
- Compare independent matches. A travel page, an official venue page, and a map listing that agree are more useful than several scraped pages repeating one unsupported caption.
- Keep a confidence note: exact public match, likely place, broad area, or unknown. Do not upgrade a likely city to an exact address without fixed-feature verification.
Search rule
Use the full image for context and focused crops for discovery. A good crop isolates a clue; it does not erase the evidence you still need to verify.
What a Reverse Image Match Can Actually Prove
A result page can contain several different kinds of evidence. The image may be identical, visually similar, embedded in a page that names a place, or simply associated with a website that has no reliable caption. Read the surrounding page rather than treating the search engine's label as a verified fact.
The table below separates a useful lead from a conclusion that still needs another check. This is especially important for old photographs, viral posts, AI-generated images, and travel pictures that are reposted with a new city name.
| Result type | What it can support | What it does not prove |
|---|---|---|
| Same image on a dated travel page | The page may identify a landmark, city, event, or route | That the page is the original source or that the photo was taken there |
| Several close visual matches | A distinctive building, object, or landscape may be searchable | That the visually similar place is the scene in your file |
| A social post with a caption | A lead about the poster's claimed location | That the caption is accurate or that the account took the photo |
| A stock or image-library result | A possible landmark name, collection, or licensing trail | That the file's displayed location is the camera location |
| No useful match | The image may be new, private, cropped, or poorly indexed | That the scene has no source or cannot be located |
Evidence rule
A source page is evidence about publication and context. A map match is evidence about the physical scene. Do not use one as a substitute for the other.
How to Verify the Location in Maps
Once a reverse image result gives you a candidate place, move to a map instead of searching the same phrase repeatedly. Check whether the proposed location has the architecture, road angle, waterline, terrain, signs, or neighboring structures visible in the photo. For a public landmark, compare the official place page or tourism information with the map listing.
Google Maps is usually a verification step, not an image-first answer engine for every photo. The question keyword how to search for location with image on Google Maps is best handled as a workflow: use image search or visual clues to form a candidate, then use Maps and Street View to test that candidate. When imagery dates differ, use fixed geometry rather than temporary signs, vehicles, or shop displays.
Do not publish a private address simply because a match looks plausible. For homes, schools, workplaces, or personal photos, report a broad area or keep the finding private. Location research should help with travel, public landmarks, journalism, research, and personal archives without exposing someone else's routine.
- Open the candidate in a map and check the surrounding street pattern, shoreline, building footprint, or mountain direction.
- Compare at least two fixed features from the original frame, such as a facade curve and a neighboring roofline, before calling it a match.
- Use Street View or user photographs where available, but note the capture date and do not assume an old image shows the current scene.
- Check an official venue, tourism, municipal, or landmark source when the result depends on a place name or historical claim.
- Write the conclusion at the correct level: exact public landmark, likely building, likely city, broad region, or unresolved.
Verification rule
The location is stronger when the candidate page, two fixed visual features, and map geometry all agree. One matching thumbnail is not enough.
Screenshots, Crops, Reposts, and Privacy Limits
Screenshots and social-media reposts often remove EXIF data, change the aspect ratio, add interface elements, or compress the image. Crop away comments, borders, and buttons, but keep the original screenshot as evidence. Search the clean visual area and any visible username, caption, subtitle, or watermark separately.
For a video frame, search several moments rather than one blurry frame. A title card, street sign, building entrance, or later wide shot may identify the location better. For memes, separate the base image from the added text. For AI-generated or heavily edited images, a visual match can be misleading, so use the result as inspiration for a search hypothesis rather than proof.
Reverse image search also has a licensing limit. Finding a source does not give permission to reuse the image. If your purpose is publication, ask the apparent rights holder or confirm a license; if your purpose is location research, avoid uploading sensitive images to public services and remove private clues before sharing.
When EXIF or AI Geolocation Is Better
Reverse image search is one layer in a location workflow, not a replacement for every other method. An original phone or camera file should be checked for GPS metadata before you spend time searching the web. A screenshot or generic landscape may have no indexed copy, so an AI photo-location tool can provide a hypothesis from architecture, terrain, signs, and other visual clues.
For a broader step-by-step process, see the guide to finding where a photo was taken. The right method depends on the evidence that survived in your file, not on which tool sounds most precise.
| Photo situation | Best first move | Useful second check |
|---|---|---|
| Original JPG, HEIC, or camera file | Check EXIF GPS with the Photo GPS Location Checker | Open the coordinates in a map and compare the scene |
| Public image that may be reused online | Run reverse image search on the full image and distinctive crops | Check dates, captions, creator context, and map geometry |
| Screenshot, video frame, or social repost | Search visible text and use AI visual clues | Reverse-search a clean crop, then verify in Maps |
| Famous landmark or public building | Search the landmark or use an image-first tool | Confirm with an official page, map, and fixed facade details |
| Generic street, beach, or mountain view | Use several visual clues and a broad AI location hypothesis | Compare terrain, road layout, weather, and independent sources |
Method rule
Start with the strongest surviving evidence: GPS for original files, reverse image search for reused public images, and visual or AI analysis when the web has no matching copy.
Need a location estimate from the image itself?
If reverse image search finds no useful copy, try the photo-location workflow and treat its answer as a checkable lead. If you are investigating the original publisher instead, use the image-source guide so source evidence and location evidence stay separate.
Frequently Asked Questions
References and verification tools
Last updated: August 7, 2026